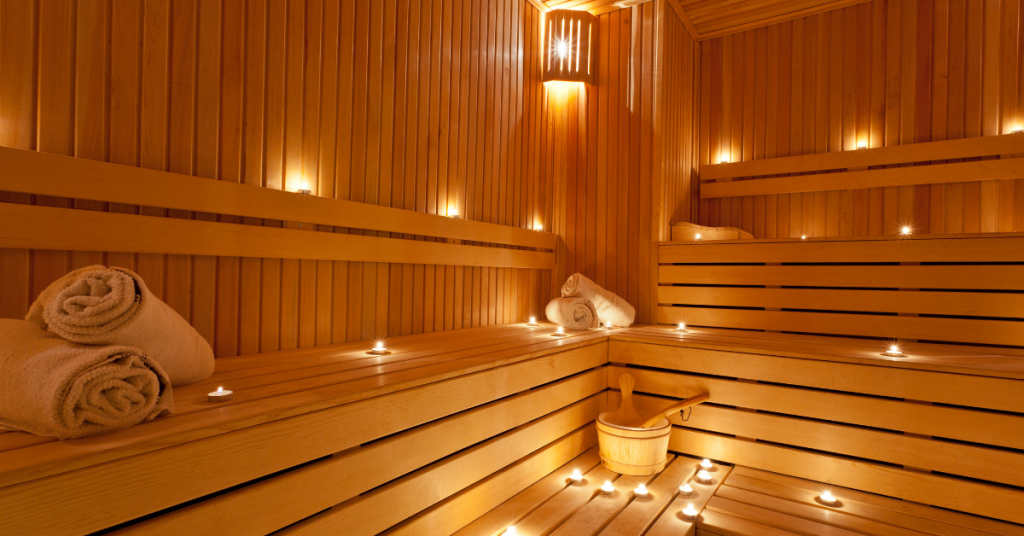
Installing a sauna can add a dedicated space for relaxation and health benefits right in your home. Using the right diy sauna kits allows you to plan, assemble, and customise your sauna without hiring a full crew. Before you begin construction, it is important to know what to look for and which steps to follow so that your project goes smoothly and your sauna remains safe and enjoyable for years to come.
Choosing the Right Space
First, pick a location that will handle both high heat and frequent moisture. A stable floor that can support the weight of a sauna plus its occupants is essential. Many homeowners repurpose a corner of a spare bathroom or section of a basement, provided there is good air circulation. Make sure the area is free from any wiring or plumbing that might be compromised by steam. Proper ventilation nearby will help warm air escape and prevent mould growth over time.
Preparing the Foundation
Once you have selected your spot, clear the area of any loose items and inspect the subfloor for signs of damage or rot. If your sauna will sit on concrete, lay down a moisture barrier to keep dampness from seeping up and affecting the wood. For wood floors, remove any carpets and check for mould or pests before moving forward. Proper preparation of the foundation not only protects against leaks and warping but also makes sure your new sauna will last without costly repairs.
Electrical and Safety Planning
Heat sources require correct wiring to function safely. Most saunas for sale list the electrical specifications needed for safe operation, including voltage and amperage. It is always best to consult a licensed electrician for a dedicated circuit and ground-fault protection. This reduces the risk of short circuits or shocks when the sauna reaches high temperatures. Installing a suitable control panel in a dry, accessible spot will also help you and your family operate the unit without any risk.
Installing the Heating Element
There are several options when it comes to sauna heaters. Electric models heat up quickly and allow precise temperature control, while wood-burning stoves offer a traditional feel and crackling sound that many enjoy. Follow the manufacturer’s guidelines exactly for clearances, mounting height, and the correct type of stones if required. Incorrect placement or using the wrong materials could lead to overheating, fire hazards, or damage to the wood surrounding the heater.
Framing and Insulation
Good insulation keeps heat from escaping into the rest of the house. Place moisture-resistant insulation between the studs, then cover it with a foil vapour barrier to reflect heat back into the room. This barrier will also protect the framing from excessive humidity over time. After the insulation is in place, build the interior framing for walls and ceiling so you can create a tight enclosure that contains the warmth efficiently while remaining safe under the high temperatures typical for saunas.
Assembling Your Sauna Kit
If you chose a complete sauna installations package, the pieces are designed to fit together much like flat-pack furniture. Start with the floor panels, checking that each section is level and securely fastened before moving on to the walls. Once the walls are in place, install the ceiling panels, ensuring all seams are tight. Proper assembly will keep heat contained, improve energy efficiency, and create a more pleasant environment inside your home spa.
Finding Quality Suppliers
For replacement parts or additional accessories, look for reputable sauna manufacturers and sauna suppliers with positive customer feedback. Choose suppliers who offer genuine wood panels, reliable heating elements, and clear guidance on installation practices. A good supplier will also provide maintenance tips that help extend the life of your wooden interior and heater stones, ensuring you get the best performance for your budget.
Hiring Professional Help
Even with a mostly DIY approach, some steps may require expert skills or local code knowledge. Certified sauna installers can manage tricky electrical work, confirm that your setup meets building regulations, and handle any unexpected challenges. Bringing in a professional for the more technical parts can save time, reduce stress, and prevent mistakes that might lead to costly repairs down the road.
Testing and Inspection
After installation, run your sauna empty for a few hours in a dry cycle to burn off any residues from manufacturing and to ensure heat spreads evenly. Check all electrical connections, test the control panel, and make sure the door seals properly. If you notice temperature imbalances or strange noises, arrange for quick sauna repairs before you invite guests or begin regular use.
Regular Upkeep
Routine maintenance will keep your sauna safe, clean, and energy efficient. Wipe down benches after each use and leave the door open for a while to air out moisture. Inspect heater stones regularly and replace any that are cracked or crumbling. A simple annual check of the vapor barrier and wood surfaces can prevent major issues later on. Proper care will extend the life of your home saunas and keep it a favourite spot for unwinding.